Shower Enclosures in Pinecrest
Custom Shower Enclosures Pinecrest
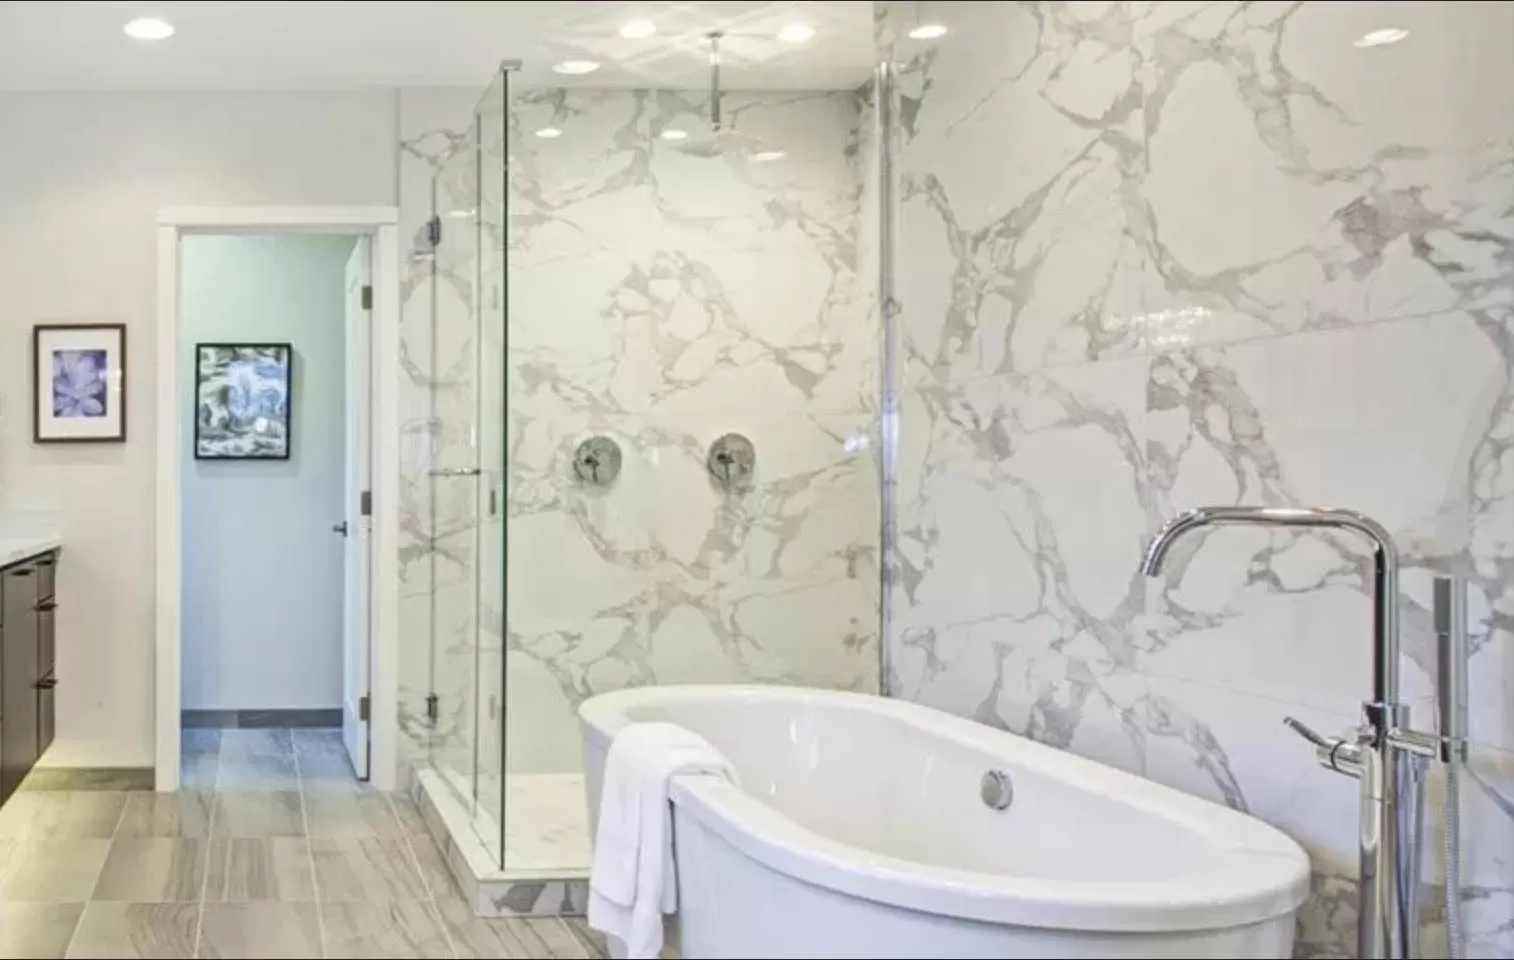
Custom glass shower doors are perfect for modern bathrooms that want a spa-like feel. The whole process gives you a chance to customize your shower enclosures as a frameless enclosure, or an open entry enclosure, orto add an elegant design etched into the glass.
Frameless Glass Shower Enclosures
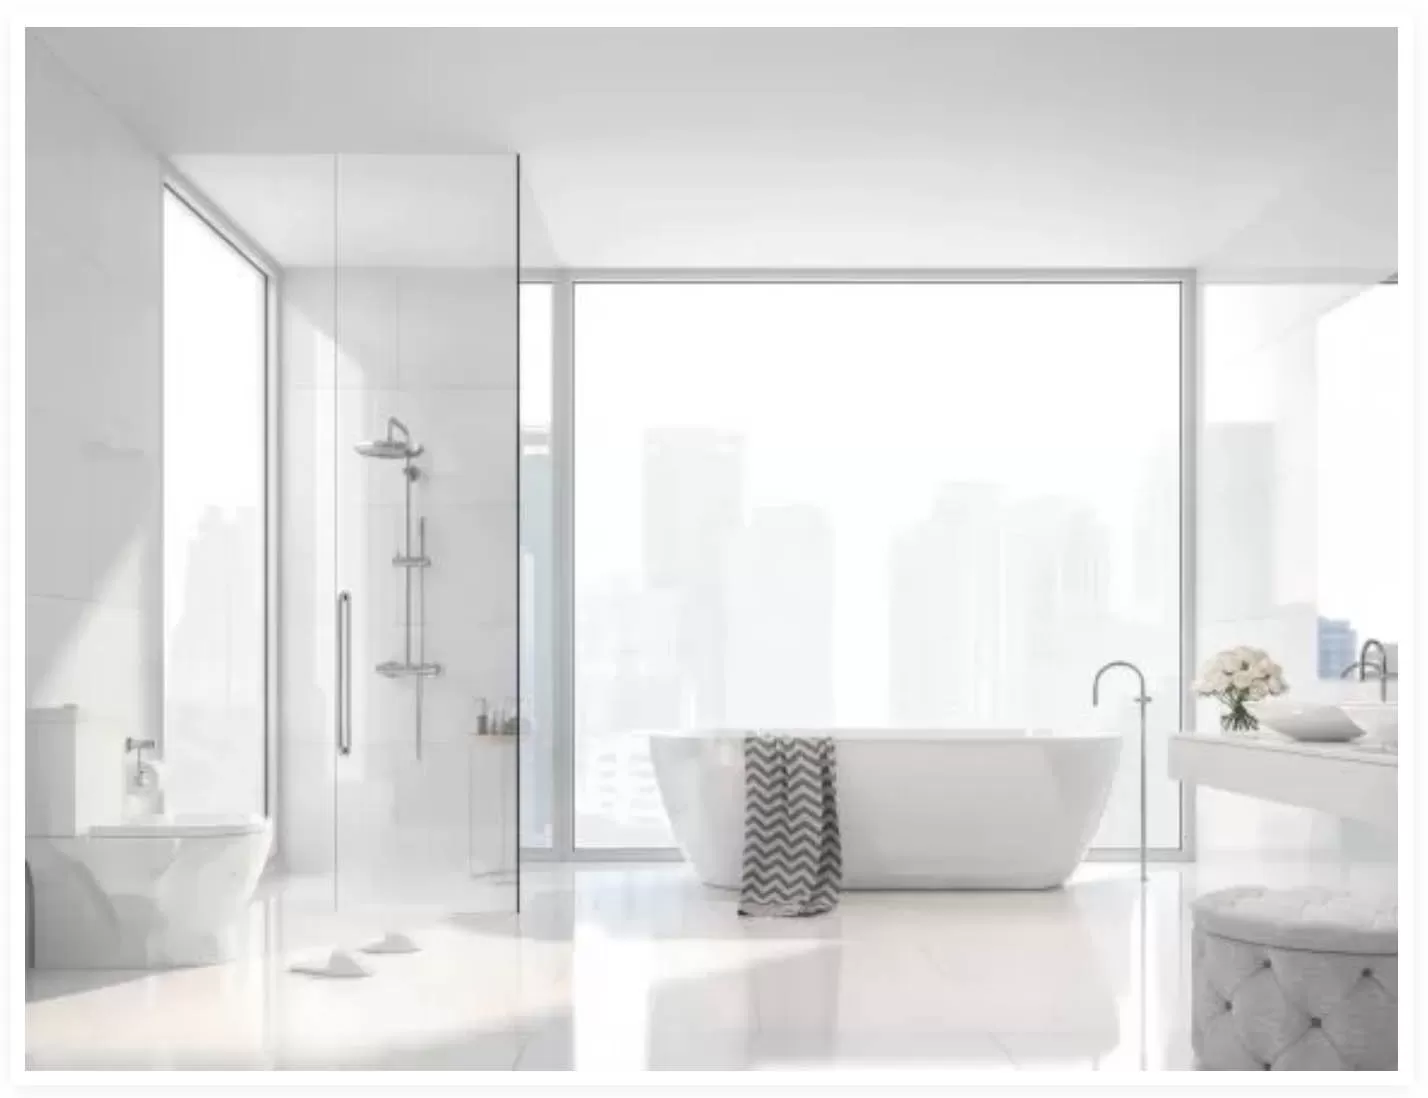
Frameless shower doors are a great way to modernize your bathroom. They allow for a clean, sleek look and help make your bathroom feel bigger, and they also provide an easy, safe way to get in and out of the shower. They also increase the resale value of your home.
These shower doors are available in a variety of styles and options. Some are dual-sliding doors, which allow entrance from both sides of the shower. Others are hinged (pivot) doors that open like bedroom doors.
Aside from the design, another factor to consider when purchasing a frameless shower door is the hardware it will use. You’ll want to choose hardware that matches the rest of your bathroom’s decor and other fixtures in your Pinecrest home.
Benefits of Customizing Glass Shower Doors With Our Team in Pinecrest
Our more than 25 years’ experience manufacturing the highest quality shower doors means you can have confidence that we will create the perfect shower enclosure for your home.
With a custom shower, you get to choose your stall dimensions, number of fixed panels, angles at which panels meet adjoining surfaces, and more. You can even customize your hardware styles, hardware finish, and glass patterns, including etching.


Hinged Shower Doors
Hinge shower doors swing open from a pivot hinge (top to bottom) or a side-mount hinge (with the hinges at the side). They are used on a wide range of glass enclosures including single, double, and corner showers. They are easy to clean and maintain, and prevent moisture from accumulating in small crevices. They are aesthetically pleasing as well, as they blend into the wall and keep the area looking seamless. These shower doors do not have bottom tracks like sliding ones, which makes them easier to clean. Alternatively, these types of doors can be frameless, which eliminates the tracks altogether.
Why Hinged Shower Doors
A hinged custom glass shower door is an excellent choice for modern-style bathrooms with curved designs. It can also be a good choice for older homes where the bathroom is being modified to accommodate an aging or disabled family member.
Patterned Shower Glass Doors
Patterned glass is also popular for creating a more private stall or maintaining a vintage feel in a Pinecrest home. It can also be stained for an antique or custom look, or it can also be made to match the existing colors and style of the rest of the house. If you are not sure which type of custom glass shower door is right for your home, it’s best to speak with a professional. They will be able to provide recommendations on which design is most appropriate for your particular situation and budget.
Sliding Shower Doors
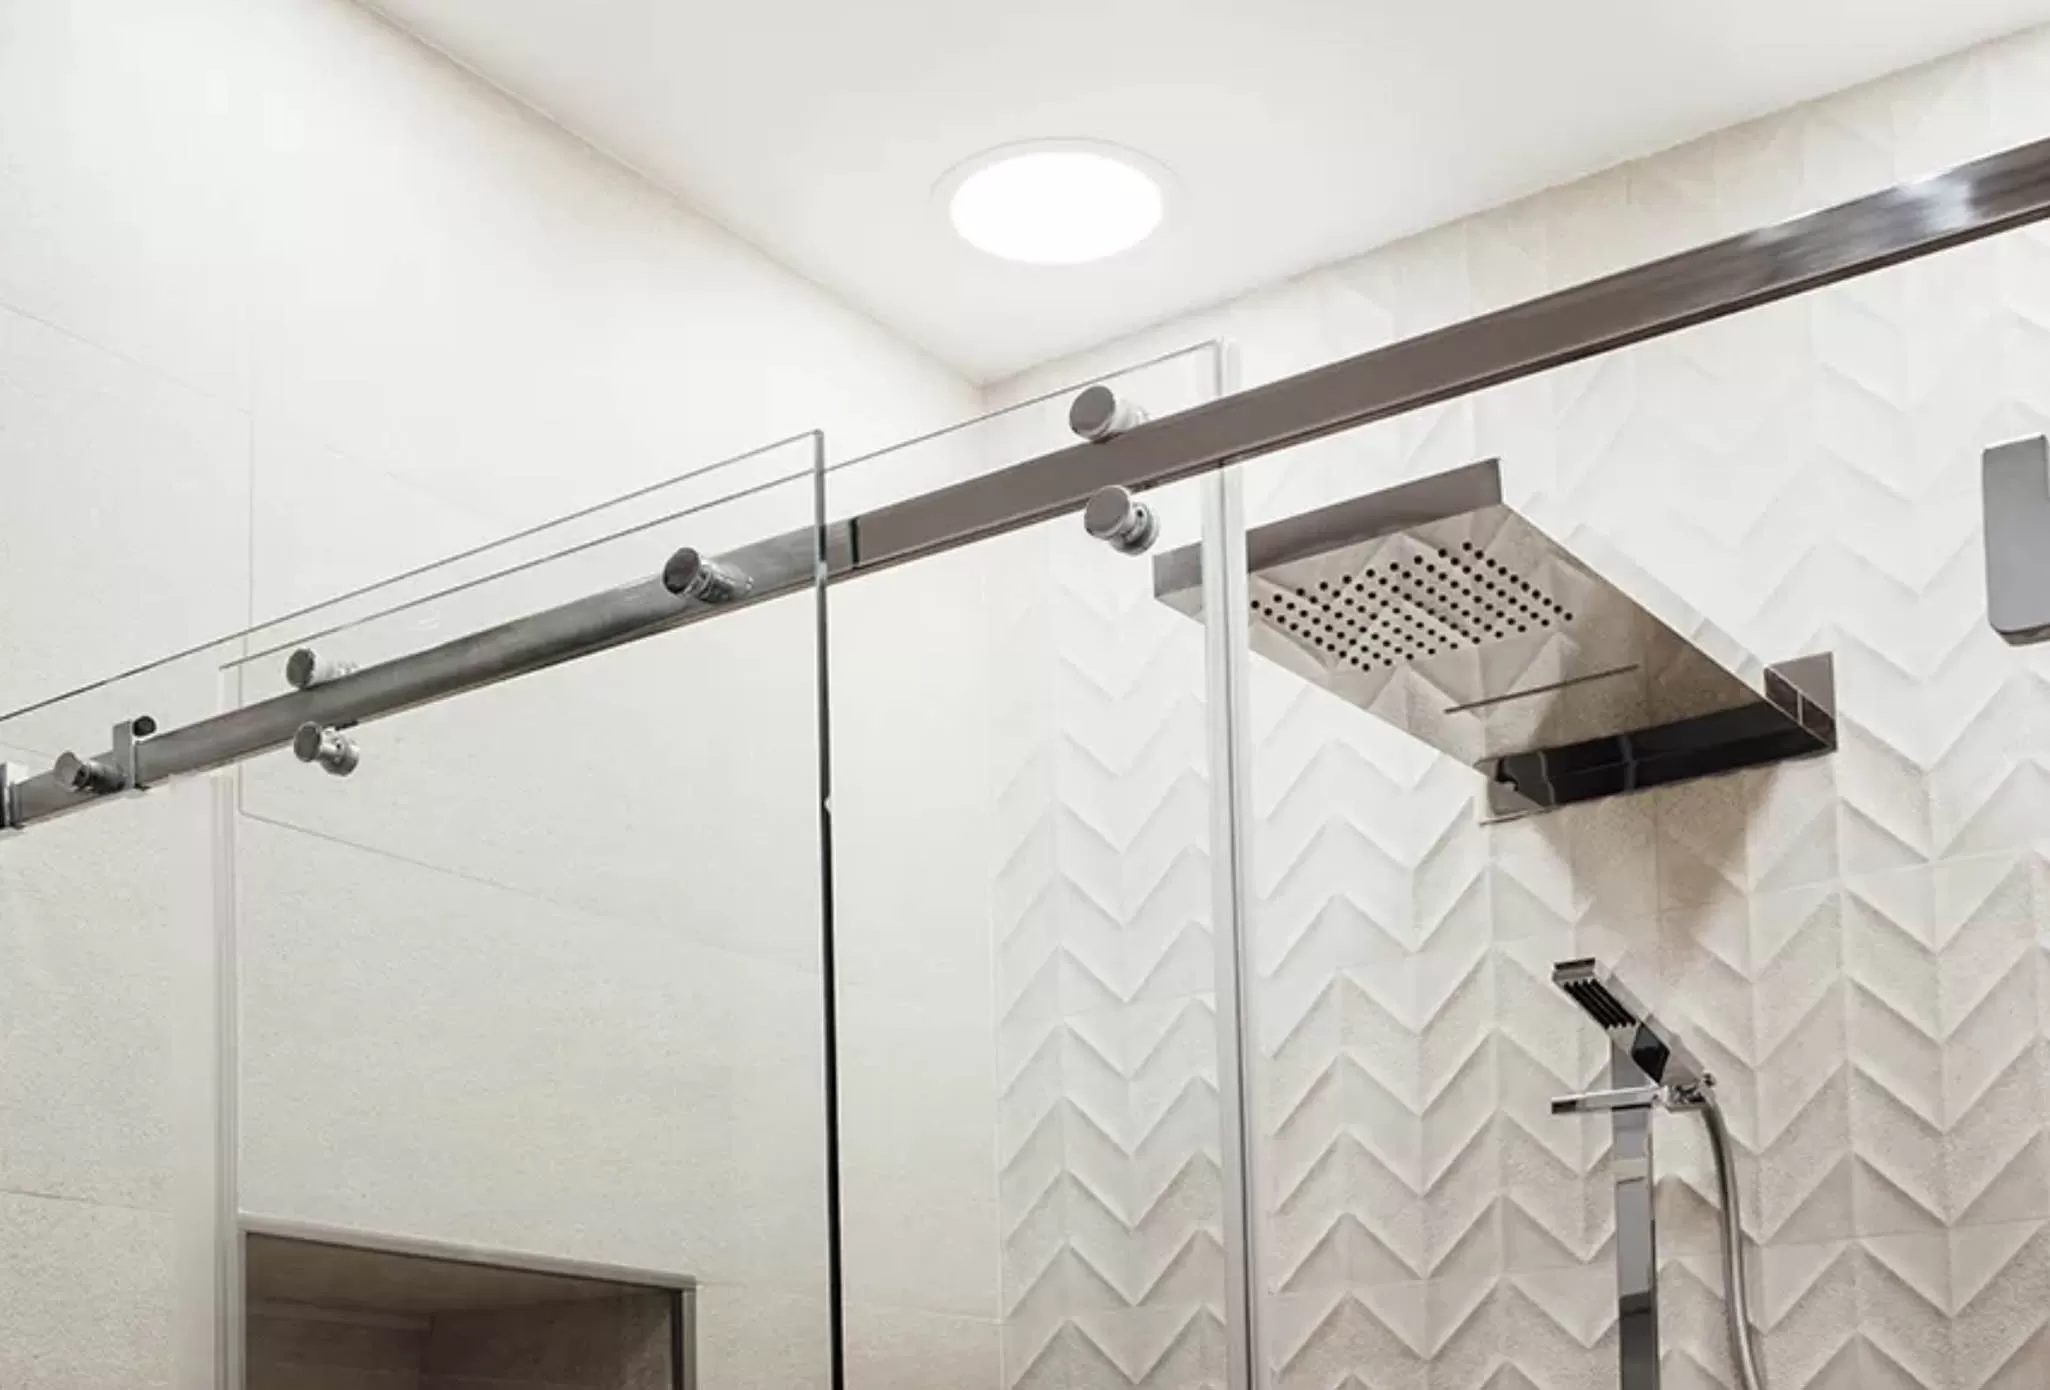
Sliding custom glass shower doors offer a mix of features that make them ideal for a variety of bathrooms. They are easy to clean and are available in a variety of frame styles for your house in Pinecrest. You can choose from single-sliding, dual-sliding, and rolling designs. They can also fold in an accordion style to save space. Sliding shower door frames are made from stainless steel and are rust-resistant. They are a popular choice for older homes since they are easier to maintain than traditional metal frames. Stainless steel is also antibacterial, which means it will resist bacteria buildup and stains better.
Another option for custom sliding shower doors is textured glass. There are many styles of textured glass, including rain glass and frosted glass. These styles give your Pinecrest bathroom shower remodel a modern feel and are great for privacy. There are also tinted glass options. These come in a variety of colors, including copper and gray tones. They can be just slightly tinted, so you have a clear view of the floor beneath your feet, or they can be heavily tinted to prevent people from seeing inside the shower.
Frameless Shower Enclosure Pinecrest
Custom glass frameless shower enclosures can dramatically upgrade the appearance and functionality of your bathroom. They can also increase your home’s value by attracting more buyers and making the room feel larger. In addition, they can be designed to fit your space perfectly and match the rest of the decor in your bathroom.
Frameless shower doors and residential custom glass doors are often the most popular type of enclosure. These doors feature no metal framing around the panels, so they are sleeker and more contemporary than framed units. These types of doors are also more durable and less likely to break, so you can save money by choosing them for your Pinecrest bathroom remodel project. They are available in a variety of styles and colors, so you can find one that fits your vision for your bathroom. You can also add a custom handle or hooks to hang towels or robes.
Frosted Frameless Shower Enclosure
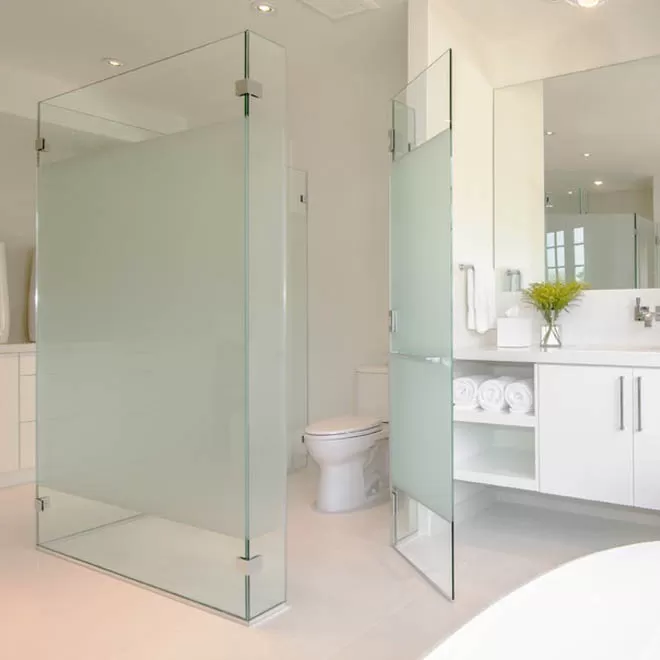
A frosted glass frameless door can be a fantastic option for privacy in your bathroom. These types of shower doors can be frosted or tinted, or they can have a pattern applied to them. A wide range of patterns is available, including black grids and geometric designs. In some cases, a glass shower door will come with a protective coating that repels stains and makes cleaning the bathroom easier. This coating can be applied during manufacturing with etching or after the shower glass has been installed. Sometimes these doors can even be classified as tropical glass enclosures.
Benefits of clear tempered glass for your shower doors
Tempered glass is quickly becoming the preferred type of glass used for frameless door showers because it offers a number of safety and aesthetic benefits.
Tempered frameless shower door glass is four to five times stronger than standard annealed float glass, making it much less likely to break or shatter if exposed to impact or temperature changes. This makes clear tempered glass an ideal choice for your shower doors, as it can protect you from any sharp shards that could be produced in the event of accidental contact with the door. It’s also less dangerous for children and pets who may come into contact with the door or accidentally fall against it during a bath or shower.
Neo Angle Shower Enclosure
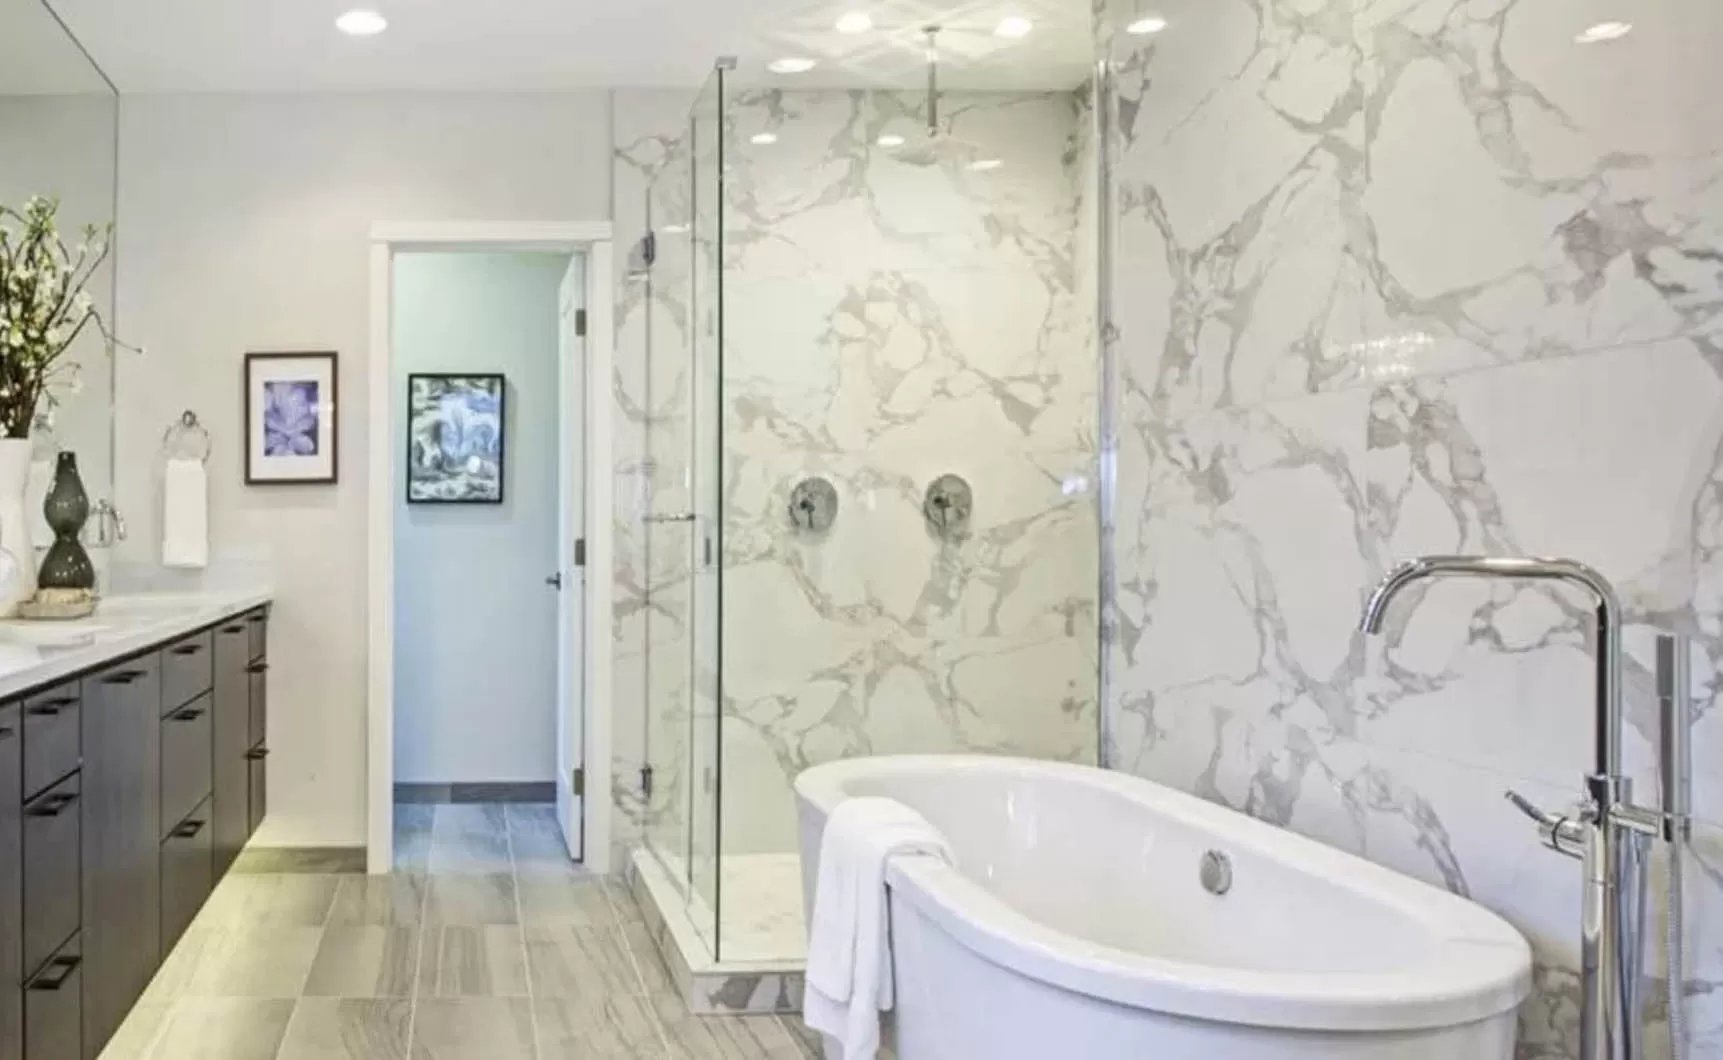
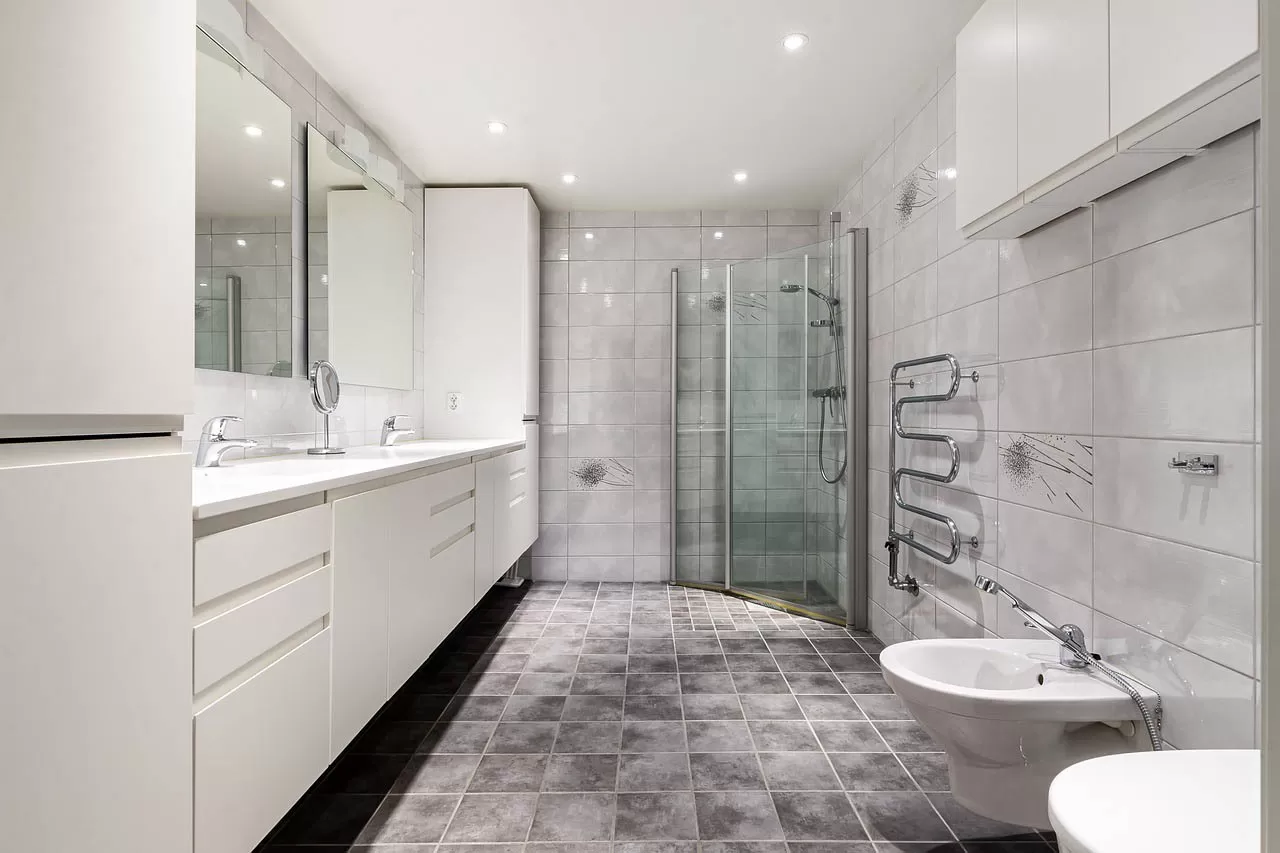
A neo angle shower enclosure is a type of shower that features walls that are angled out from a single corner. These types of showers are designed to fit into awkward spaces or nooks, providing an enclosed area for bathing in tight quarters. Neo angle shower enclosures usually have three or four sections of glass, although some can come with up to five walls. The most common type of neo angle shower configuration features two side panels and one back panel with either center-opening, bypass (with two sliding doors), or pivot door options available.
Tempered Glass Doors and Clear Glass Benefits
In addition to its strength and safety properties, tempered glass has a fantastic appearance when installed for use in a modern Pinecrest shower enclosure. Optically speaking, its clear finish gives off a minimalist feel and allows natural light to enter your bathroom space while still providing privacy through its frosted colors depending on what frameless shower door option you choose! Additionally, since tempered glass will not corrode like other materials such as metal frames do overtime, this ensures that your investment remains looking new throughout its lifespan.
Overall, a tempered clear-glass frameless shower enclosure or a custom sliding door provides many benefits ranging from enhanced safety features due to its tough durability, minimized risk of corrosion over time compared to metal frames, improved aesthetics resulting from its clear form factor allowing more light into the room, and creation of privacy through various tints available on select models along with other customized options according to one’s design preference!
Frameless Glass Shower Enclosures
Frameless shower doors are a great way to modernize your bathroom. They allow for a clean, sleek look and help make your bathroom feel bigger and provide an easy, safe way to get in and out of the shower. They also increase the resale value of your home.
These shower doors are available in a variety of styles and options. Some are dual-sliding doors, which allow entrance from both sides of the shower. Others are hinged (pivot) doors that open like bedroom doors.
Aside from the design, another factor to consider when purchasing a frameless shower door is the hardware it will use. You’ll want to choose hardware that matches the rest of your bathroom’s decor and other fixtures in your Pinecrest home.

Shower Doors & Enclosures FAQs
How much does a custom glass shower enclosure cost in Pinecrest?
The cost of a custom glass shower enclosure in Pinecrest really depends on the size and complexity of the design, and of the installation process. Generally speaking, an average-sized enclosure without any fancy features ranges from $2,000 to $5,000. If you’re looking for something more elaborate with additional features like steam options or decorative elements (e.g., blocks, panels), then you can expect to pay upwards of $7,500 depending on the materials used and other factors like labor costs and delivery fees.
For larger projects — such as commercial properties that require extra-large enclosures — costs could extend much higher than this and reach up to tens of thousands of dollars in some cases. Additionally, if your local area requires extra permits for construction projects such as a glass shower enclosure installation (which is common for high-end enclosures) there could be additional expenses associated.
Ultimately, it’s important to speak directly with experts in your area when it comes time to purchasin a custom glass shower enclosure, as they can provide accurate pricing information based on their experience!
How to install a shower enclosure?
Installing a shower enclosure in Pinecrest may seem daunting at first, but with the right tools and supplies it is not too hard. We highly recommend using a licensed contractor. Before you get started, make sure you have all of the necessary items, including: a drill, screws, a level, and waterproof caulk or sealant tape.
- Install Wall Anchors – The first step in installing your shower enclosure is install wall anchors. You’ll need to use a drill and screws to secure two wall anchors into each stud along the walls where the enclosure will be mounted. Be sure to measure carefully when drilling so that your fixtures line up perfectly for installation.
- Level Walls – After you’ve secured your wall anchors, check that the walls are level using either a spirit level or nine-inch torpedo leveler. If any adjustments need to be made due to variations from one side of the room or another (which often happens), you can use shims under each anchor post until everything is evened out correctly.
- Place Shower Panels – Positioning the primary panel on top of wall supports should come next in this process. Make sure it’s flush against both walls before screwing it into place with hardware provided by its manufacturer (if applicable). Pay attention as some models require caulking between seals. If this applies in your case, then use waterproof silicone-based caulk instead of regular caulk or sealant tape around edges and corners where leakage might occur otherwise.
- Add Accessories – Finally, add accessories such as shelves/racks within reach and/or any other desired features like grab bars before adding glass panels. Then insert the glass panels into their designated slots atop brackets attached earlier for support purposes (depending on model). Make certain these are tight enough so they don’t become loose over time, yet not too tight, as that might cause them to break down prematurely from stress caused by excessive force being exerted upon them during adjustment period(s). Once all pieces are firmly secured together, proceed to the last part of the installation, which involves applying finishing touches via grout work around edges and corners and then sealing gaps between tubular framing members/posts, etc. If necessary for extra protection against potential water intrusion / leakage issues.
What do you put behind a shower enclosure?
Behind a shower enclosure, the most essential material to have is waterproof sheeting. There are several different types of sheeting that can be used, depending on the size and type of your shower cubicle. For example, if you have a tiled shower cubicle, tile backer board or cement board is necessary, as this will protect against water seeping through any cracks in the grout lines. On the other hand, if you have a fiberglass enclosure then you should use vinyl-backed drywall and create an air space between that and the fiberglass wall structure using plastic bumpers.
When covering up any sharp edges behind or around your shower enclosure, it is important to apply a caulking sealant prior to putting up drywall or backer board in order to ensure no water gets into those openings. Additionally, you may want to install waterproof membrane for added protection from mold growth due to steam build up over time in these areas, and add insulation foam boards for warmth when taking showers during colder months.
Can I install a shower surround myself?
Installing a shower surround is a complex job that involves both electrical and plumbing work. If you’re not familiar with how to correctly install the necessary hardware involved, then attempting it yourself could be risky. Furthermore, making even the smallest mistake while installing a shower surround can lead to water damage in your home.
It is strongly recommended that you hire a licensed contractor with experience in this type of installation. Doing so will ensure that the job is done properly, up to code, and most safely. This also means that any warranties related to the installation remain intact as well, since if an issue arises, it will be covered by your contractor’s insurance policy.
Do you need drywall behind a shower enclosure?
Yes, you absolutely need drywall behind a shower enclosure for structural integrity, water protection, and insulation.
The most important reason you need drywall installed behind a shower enclosure is structural integrity. Without it, any moisture or humidity from your shower could cause the walls to become soft or even rot over time. Drywall provides an extra layer of support that will protect against potential damage from high-pressure showers and ensure that your walls can handle whatever elements might be thrown their way.
Aside from simply providing support for the surrounding structure, drywall protects against water spilling onto surrounding surfaces outside the enclosure area. This is especially true if you have tile on the walls inside your bathroom. Any water spillage could cause mold or mildew buildup over time if there’s not enough protection between the tiles and exterior walls. Waterproofing membranes can be an extra layer of protection beyond just drywall installation in these cases.
How do you install a fiberglass shower enclosure?
Installing a fiberglass shower enclosure is an easy and cost-effective way to give your bathroom a new look. Before getting started, make sure that you have all the necessary tools—a drill, a screwdriver, pliers, adjustable wrenches, caulk gun and silicone caulk.
- Measure Your Space- This is critical because your enclosure will need to fit perfectly within the allotted space in order for it to work properly. Make sure you measure accurately and make note of any irregularities in the floor surface or walls so that these can be taken into account when installing.
- Cut Shower Wall Panels to Size- Use a circular saw with an appropriate blade for cutting through fiberglass as directed by the manufacturer’s instructions. Any excess pieces of material can be discarded safely once removed from the wall panels. Adjustments may be necessary depending on how far apart or close together your studs are so the panels fit correctly into place when being mounted.
- Install Side Walls/Ceiling Panel(s)- Once you have cut the side walls and ceiling panel(s) correctly they should fit flush against each other with minimal gaps present as this will provide maximum water protection; use screws designed specifically for this purpose along with washers (if required) attached into your stud framework accordingly in order to achieve secure fixing points once completed). If there are areas around corners where additional reinforcement might be needed due to non flat surfaces then extra screws should also be used here providing extra support surrounding these locations too).
- Caulk Corners/Joints & Insert Sealing Strips Around Doors and Walls- After all panels have been fitted securely in their respective place, sealant needs to be carefully applied at each corner joint as well as around doors and walls using either a silicone-based product or paintable caulking. When it is used would normally depend upon what type/colour finish has been selected for overall aesthetic appeal of the entire installation job (i.e., light-colored sealants overtimes may eventually show discoloration over time, causing ugly lines to be visible on panel surfaces which then become difficult remove afterwards ). Additionally, insert pre-purchased rubber strips along the base of the enclosure as well, framing out door openings if applicable, and ensure snug tight seals are present to prevent potential future leakage problems following installation.


